

Emails are widely used as an effective communication tool for personal and company use. Business email still holds a leading marketing role for building connections and increasing conversion rates. It also is an important part of email marketing campaigns by many companies.
With the digital economy booming, it’s hard to imagine any successful company that doesn’t have a professional email address.
Does your business use a custom email?
It might seem like a small detail in the large picture of branding, but it’s a detail that can provide you with substantial benefits.
In this guide, I’ll show you how to create a custom email address for your business with your current or new domain name.
Your new email will look like that – YourName@DomainName.com.
Table of contents
- Why do you need a custom email address?
- A quick primer – Custom email for beginners
- Setting up a custom email with Google Workspace
- Create an email with Google Workspace alternatives
- Syncing your email with third-party software
- Connecting your email account to your mobile phone
- FAQs
- Conclusion
Disclosure: FirstSiteGuide is supported by our readers. When you purchase through links on our site, we may earn an affiliate commission. We test and try all the products that we recommend.
Why do you need a custom email address?
It doesn’t matter if you’re a blogger or a business owner – a custom email will set you apart from your competitors. If you’re looking for a job, a professional email address will differentiate you from other prospects. If you create a blog or make a website, you’ll want to use networking to make a strong brand image and build an impressive online reputation. Having a personalized email address will help you accomplish this, as it will help you stand out from other bloggers in your niche.
The same truth applies when establishing your own brand. A custom email account gives you instant credibility and shows that you’re a professional. It’s a great way to stand out among others in your industry and creates an unforgettable first impression.
If you keep a generic email address, you risk looking like a beginner. Isn’t it time to make your own business email and show that you’re tech-savvy and serious about your business?
What’s more, people are more likely to remember you, as they are used to seeing gmail.com, hotmail.com, and other general emails. Setting up an email on your own domain will make you memorable. Think about it for a moment: how many times have you instantly forgotten what came before @gmail.com?
Establish your identity in an ultra-competitive business world and turn your entire game around by showing off a unique and recognizable professional email. It’s an easy way to demonstrate that you have a real business versus a hobby.
If you have a website (domain name + web hosting) or are planning to make one, you can set up a custom email with your web hosting provider.
Most web hosting companies like Bluehost offer FREE email accounts with their hosting plans. You just need to access the account and you can set up your email address within a few minutes.
A quick primer – Custom email for beginners
Creating a new email address is actually easy! Even if you are totally new to the process, it won’t take long for you to learn it. Think of it as starting a website, since you start by buying a domain name and selecting an email hosting provider. If you have a web site for your business, then already have a domain name. If that’s the case, then the best option is to register that domain name for your e-mail address.
You need to buy a domain name if you don’t already have one. You can purchase a web address from a domain registrar, and connect it to an email hosting service. You can buy a domain name directly from the email hosting provider you choose. We will show you how to create email accounts with different companies in detail.
1. Buying a domain name
You can purchase a domain name from a registrar or an online email hosting service. There are many domain registrars to choose among, but the most popular are – GoDaddy, NameCheap, or Hover.
How do you actually purchase a domain name? Go to the website for the domain registrar you want to use and you’ll see a text box where you can type in your desired domain name.
Here’s an example to help you understand what your email address should be like: YourName@YourCompanyName.com. You can choose any other top-level domains such as.org,.net, or many others but the top-level domains.com is the most commonly used and the easiest to remember.
When you enter your domain name, select a top-level domain (TLD), and check if your desired combo of both is available. If not, you should come up with another domain. Since you can’t register a domain name that’s already registered. When you find a name that’s already taken, just click on the combination of its name and top-level extension (like.com) and add it to your shopping cart.
Afterwards, you will be asked for some basic information and then given the option to pay using PayPal or credit card. Once your account has been verified and the payment has been approved, your domain name registration will start.
2. Choosing an email hosting provider
You need to select an email hosting service that offers you the best email management tools, storage capacity, technical assistance, and, of course offers their services at an affordable rate. There are many email hosts to choose from, including Google (Google Workspace) and Office 365 Business Essentials, which includes the entire Office suite and lots of online services.
Creating your business email account is pretty much the same regardless of which email hosting client you use. The next section will walk you through the steps for setting up your own website, including purchasing a domain name without using a domain registrar.
Setting up a custom email with Google Workspace
Google Workspace
Key features
- Access to popular Google apps like Gmail, Calendar, Docs, Sheets, etc.
- Email addresses with your business domain name
- Work in a single document with teammates
- Store and share files in the cloud via Google Drive
- 2-step verification and single-sign-on
- Manage everything from one single place via the Admin console
- Search across all apps via Google Cloud Search
- Spam, Malware, and Phishing Detection
- Assign users different roles
- Manage sensitive data with Google Vault
Pricing
- Google Workspace pricing starts as low as $6 per user per month for the Basic plan
- Business plans (Standard and Plus) add extra apps and features at $12 and $18 per user per month
- Enterprise gives you everything from all plans and more but you need to contact sales for pricing
Visit Google Workspace for additional information
Step #1: Create an account
You must have a valid account before setting your email details. There are some technical details involved, but following them will get you finished quickly.
To start, open Google Workspace. Then click the Big Get Started button.
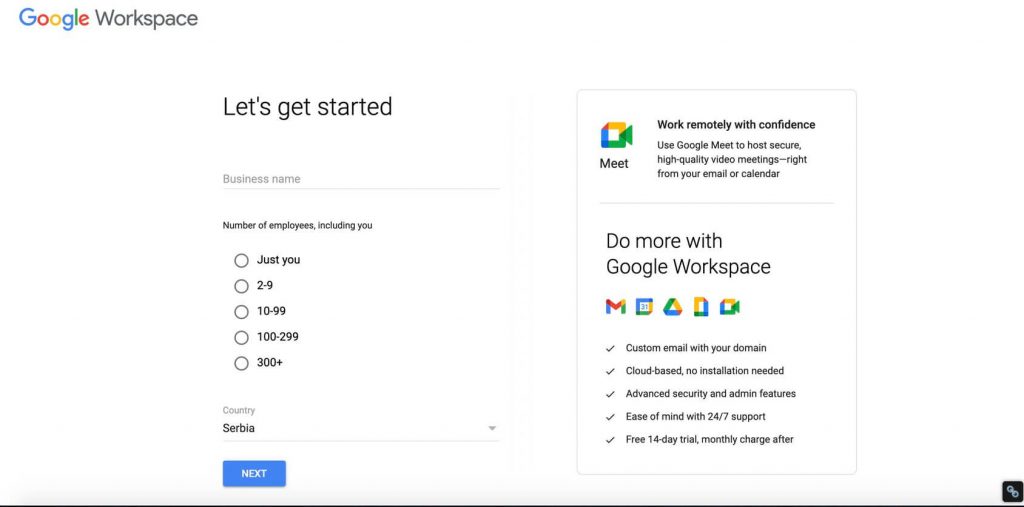
Enter basic information like your company name, the number of people in your team, and your location and then click “Next“.
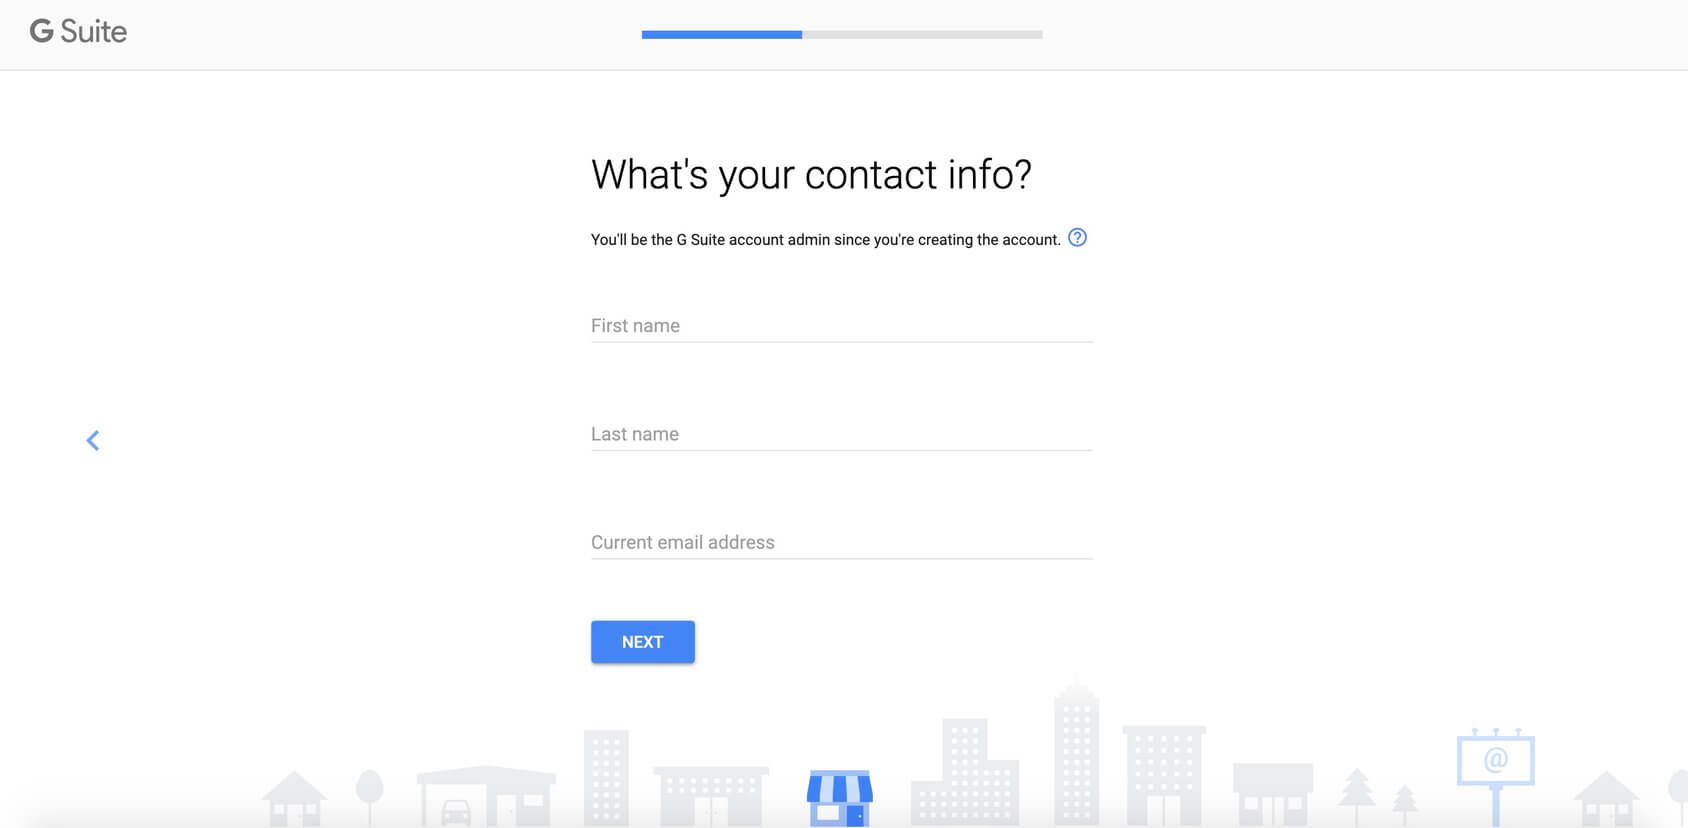
Then, enter your first and last name, followed by your current email address.
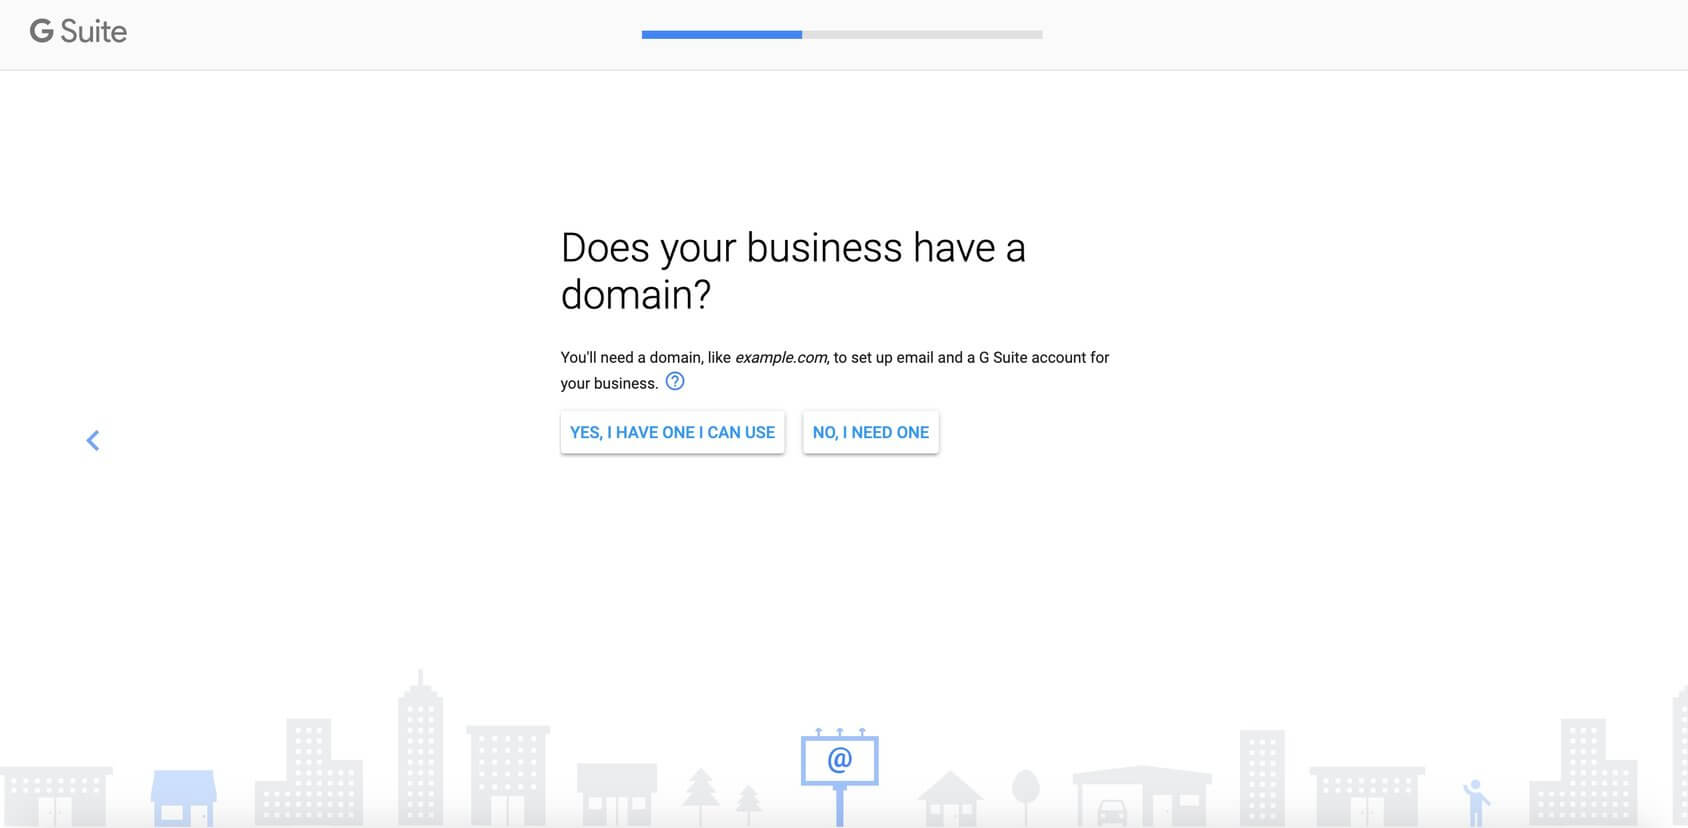
After that, Google will ask if you want it to use an existing domain name or if you want to buy a new one. For the purposes of this guide, I’ll assume you’ve already purchased the hosting and setup your domain name. If not, just choose the other option and follow the steps to buy your new domain through Google by clicking on the “Yes, i have one I can use” button.
Enter the domain name you have already registered.
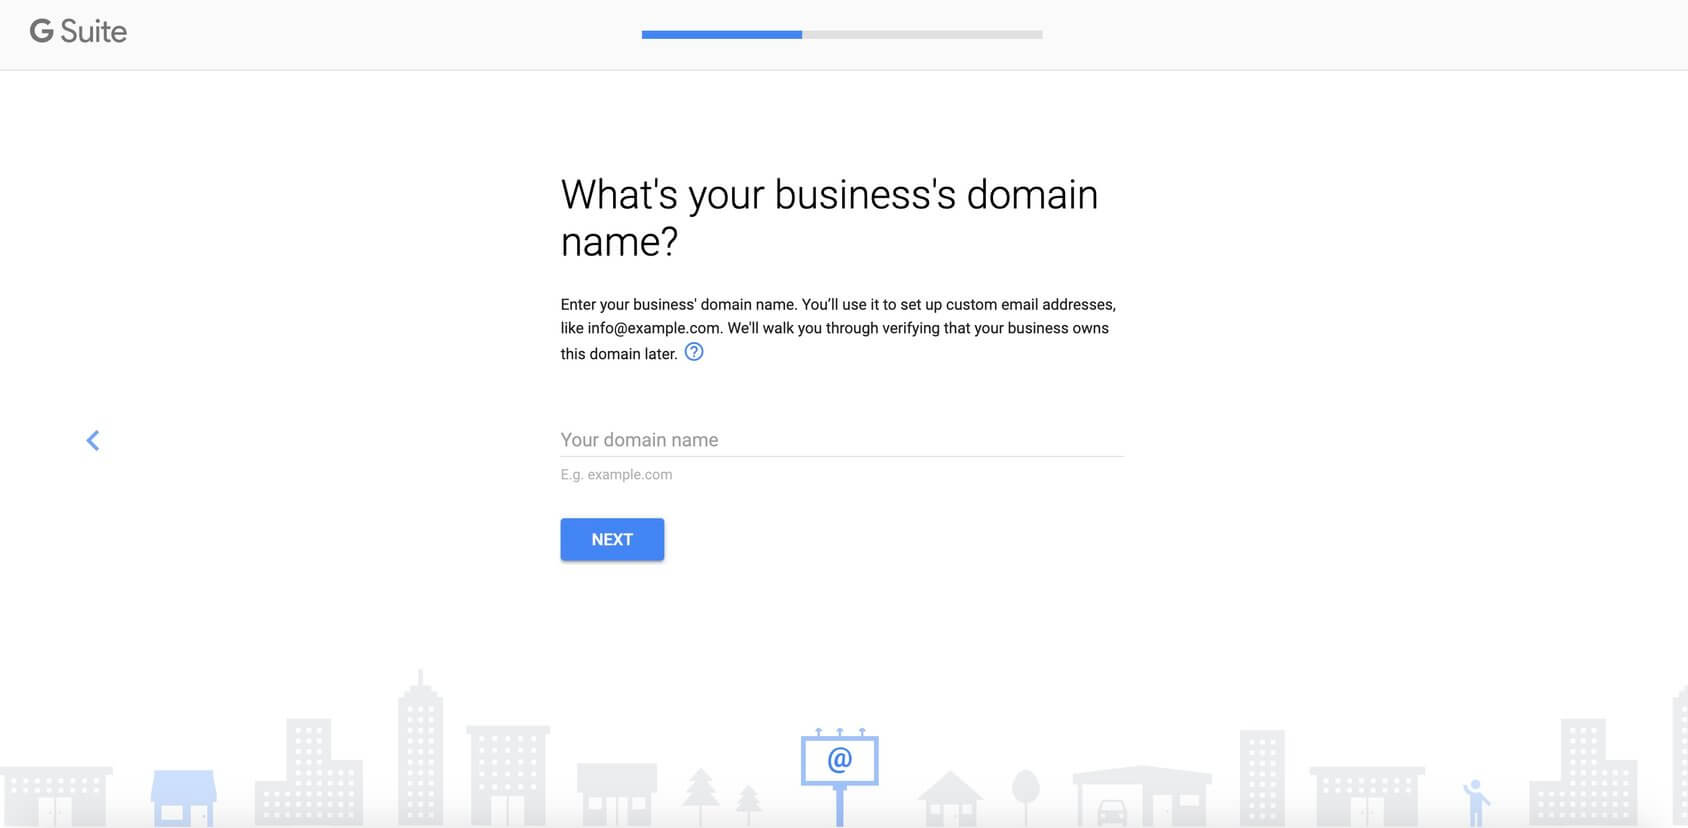
On the next screen you will need to confirm that the domain name you have entered is actually for the site you want to create. Check for any errors before submitting your application.
After this, you’ve finally reached the screen where you can select your username for the new email address and the password. Usually, people will use their own names as usernames. That means that your company email address will be yourname@yourname.com.
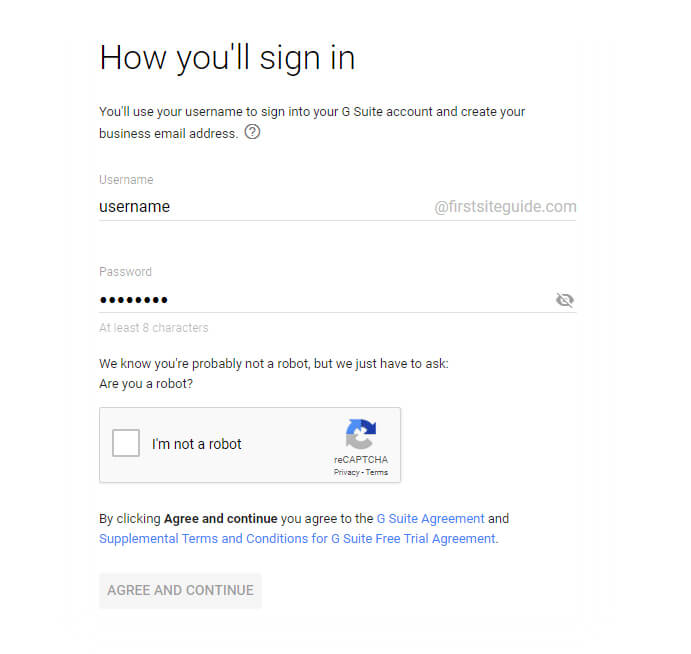
After confirming that you’re not a robot, click the “Agree and Continue” button below that will take to the next step of our process.
Step #2: Verify your domain
Before you can use your new Gmail account with Google Workspace, first you need to confirm that you own the domain. If you want to use Google Apps for Work, you need to verify that you can access the specified website that’s hosting it.
There are four different ways to verify the domain name:
- Create a TXT record (Recommended) – choose this if you can edit your domain’s records.
- Create a CNAME record – choose this if you can edit your domain’s records.
- Add a meta tag – choose this if you can edit your website’s home page.
- Upload an HTML file – choose this if you can upload files to your website.
If you already have an existing website attached to the domain name, the easiest way of confirming the domain would be by placing a meta tag. If you want to add the code, just look for the index.html file in your server, open it, and place the code right after the tag and before the tag. Your index.html should look something like this:
<html><head><meta name=”google-site-verification” content=”RjedsDxDSN345wmww2R5KS-fpnjgoAreH-RwwnRYP4″ /><title>My title</title></head><body>Page Content</body></html>
After saving the document and going back to the Google Workspaces setup screen, click the button to continue Google will take a couple of minutes to verify your domain name, and you will be good to go.
However, the recommended way of verifying your domain name is the first one – by adding a TXT record for your domain. This is just a basic text that tells Google that the owner of that domain is actually you. It proves that you have access and that you can write the code Google is about give you. You can learn more here. Let’s see how we can do that:
- Choose the TXT Record verification method and click “Continue”. Google will recognize which hosting company you’re using, so you’ll get all the necessary instructions here.
- Open your domain host’s website in a new tab.
- Sign in using your domain host’s username and password. If you forgot your password, contact their support.
- Copy your TXT verification code that looks something like this: google-site-verification=RjedsDxDER5lbFwmww2R5KS-fpnjertreH-RwJnRYP4
- Go to your DNS Records. The page or tab is probably named something like DNS Management, Name Server Management, Control Panel, or it’s located in Advanced Settings.
- Find the option to add a new record.
- Add your TXT record.
Next, you’ll be asked about the record types. Just select TXT.
Enter @ or leave it blank in the Host/Alias field. You should enter something like your domain name, for example, yourdomain.com.## Inputs
You should then find the Time To Live (TTL) box. If you don’t have a default value, then leave it blank. Otherwise, enter 86400. Paste the TXT verification record into the Value/Answer/ Destination field and save the record.
Don’t worry about the warning message about changing the domain name server (DNS) settings. Adding the TXT records won’t damage your website or DNS setting, so you don’t have to worry about this
Next, go back to the Googles Domain Setup screen and click the blue Verify My Domain button. Once Google has loaded the new info, you’ll be able to access the domain. It may take up to an hour for Google to load the new info, so be patient. Even if you get verified within a few moments, it usually takes a couple of hours before your new email account starts working. While you’re waiting, explore Google Workspace for all the options it offers you.
Step #3: Add new users
Finally, the hard work is done, and you can relax by exploring the Google WorkSpace admin area. After following Google’s recommendations, the next step is adding new users to your business Gmail account. Google Workspace is designed for business professionals who tend to collaborate in groups. If you are a solo entrepreneur, you probably won’t need the entire collection of tools offered by Google Workspace.
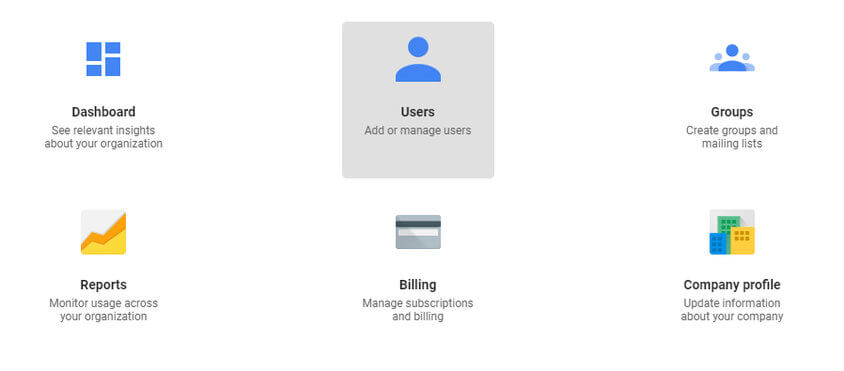
- Go to Account options (top-right corner of your screen, next to your avatar).
- Choose the “Users” icon (second from the left).
- Click the “Add new users” button.
- Fill in the details about the new user.
- Click the “Add new user” button to save the changes.
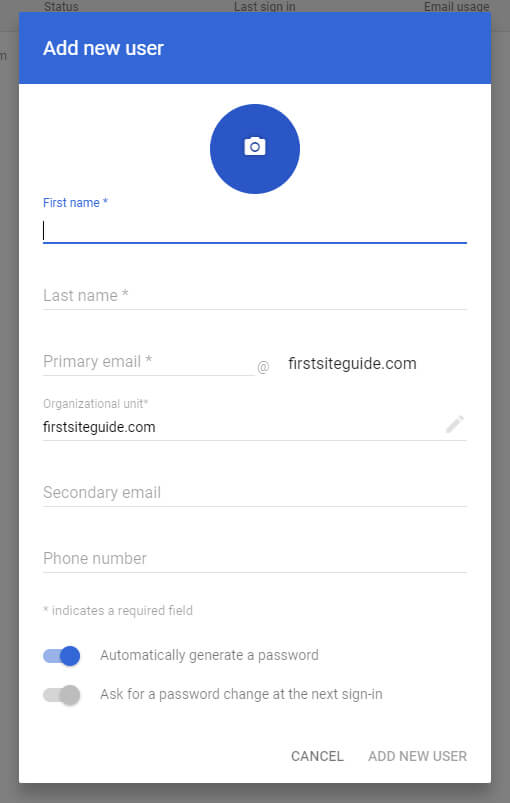
You can now copy the login credentials and share them with your team members. You can start using the new emails and other apps they have access to.
Step #4: Creating groups
You can add multiple teams if you have more than just two people who need access to the Google Workspaces. You can group users so they can access specific apps from the Google Workspace, limit specific actions and/or information for each group.
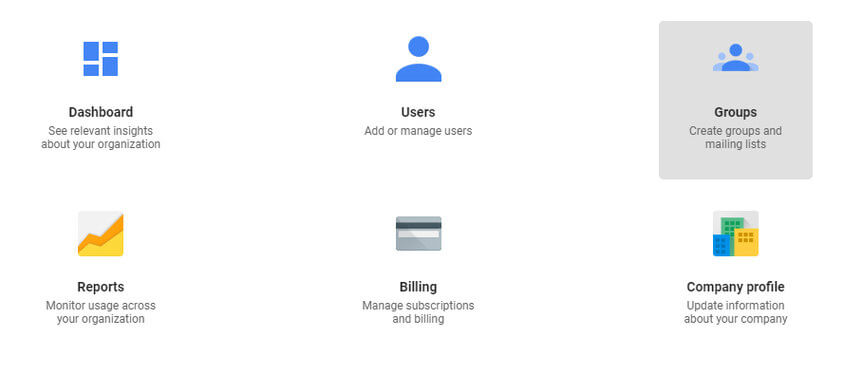
- Open Account options (top-right corner of your screen, next to your avatar).
- Click on the third icon that represents Groups.
- Find and click on the “+” icon on the bottom-right corner.
- Give your group a name.
- Create an email address for this group.
- Choose the access level for the group. It can be public, restricted, or even something in between. There are five access levels, so play around and find the one that suits you the best.
After clicking on the “Create,” click on the “Save” button so that it saves everything properly. Obviously, the group has not been filled out yet, so you should go to the “Users” options page and add specific people to it.
Create an email with Google Workspace alternatives
With no doubt, Google’s collection of online applications is the most popular one. It’s difficult to find someone who hasn’t created a Gmail account or used Google Docs to create an online document at least one time.
It’s difficult to find any flaws in the Google Workspaces when you are working in small teams. It’s simple, easy to use, and works perfectly. However, with each additional member, the monthly bill increases too. Cost is the main factor why people search for Google Workplace alternatives that can offer pretty similar services at a cheaper price. That’s particularly true if you don’t need any additional bells and whistles.
We’re going to introduce you to six different potential Google Workspace alternatives in the next few lines.
Zoho
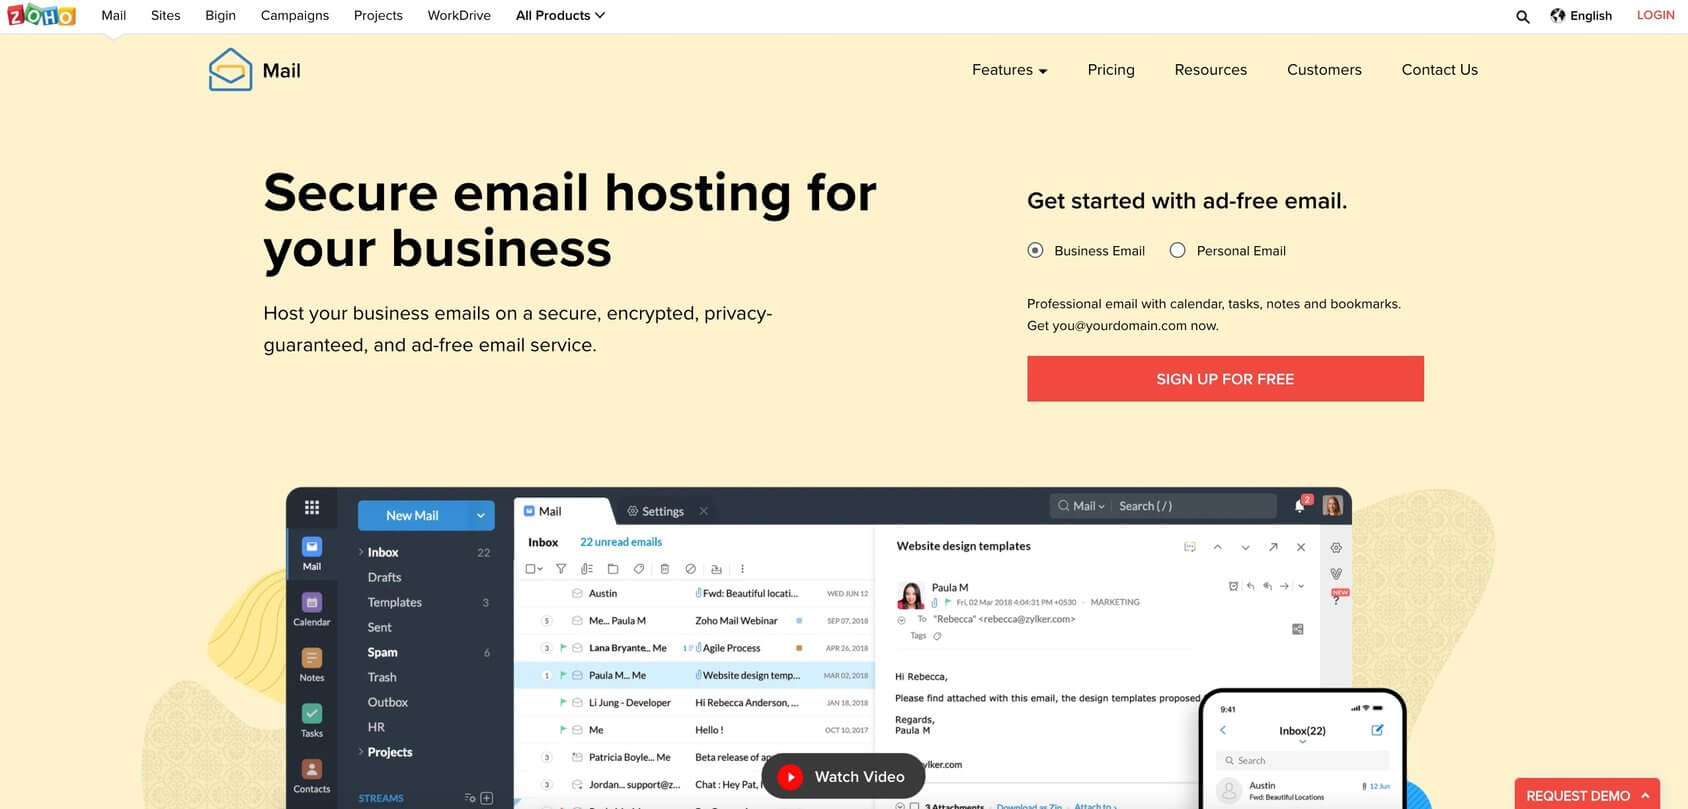
If you’re running a small to medium-size business, Zoho may be the right choice for you. It was introduced in 2008, but it offers more than just a simple email service. It lets you connect to your colleagues, streamline every task and save time each day through connecting essential apps. Zoho Mail is a blend of traditional mail services and modern collaboration tools, and it includes social media features.
Key features
- Custom domain-based email addresses.
- Hassle-free migration.
- Suite of apps (calendar, contacts, tasks, notes, and bookmarks).
- Social-media style collaboration.
- Organized attachments.
- Filter.
- Advanced search.
- Powerful control panel.
- Extensive integrations.
Pricing
- Zoho is free for up to 5 users.
- Mail Lite plan starts at $1 per month.
- Mail Premium plan extends features at $4 per month.
Visit Zoho for additional information
Microsoft 365 Business
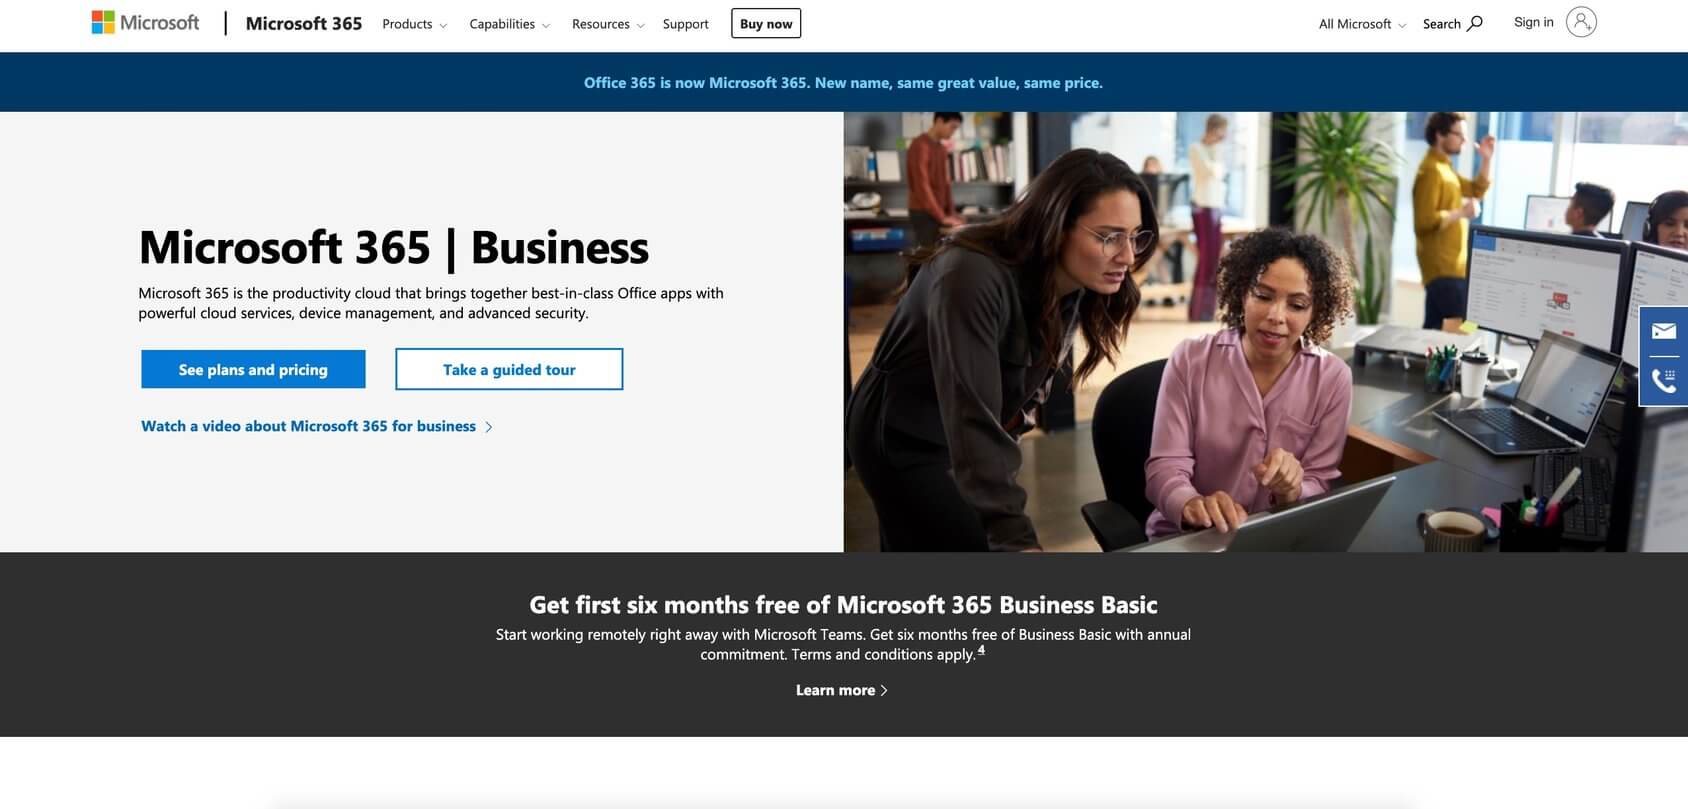
For businesses that need improved real-time communication and email, Microsoft 365 Business offers a solution. Considering the popularity of Windows software and the flexibility to provide the same service on personal computer, tablet, and smartphone, Microsoft 365 Business is an essential solution for your business.
Key features
- Web and mobile versions of Office apps.
- Custom domain address.
- Limited to 50GB.
- OneDrive Cloud with 1TB storage.
- Teams app can host up to 250 users.
Pricing
- Microsoft 365 Business Basic starts at $5 per user per month.
- Get first 6 months free with an annual commitment.
- Microsoft 365 Business Standard gives you more apps and features at $12.50 per user per month.
- Microsoft 365 Business Premium includes all apps and services at $20 per user per month.
- Microsoft 365 Business Apps for business (only includes apps) at $8.25 per user per month.
Visit Microsoft 365 for additional information
Fastmail
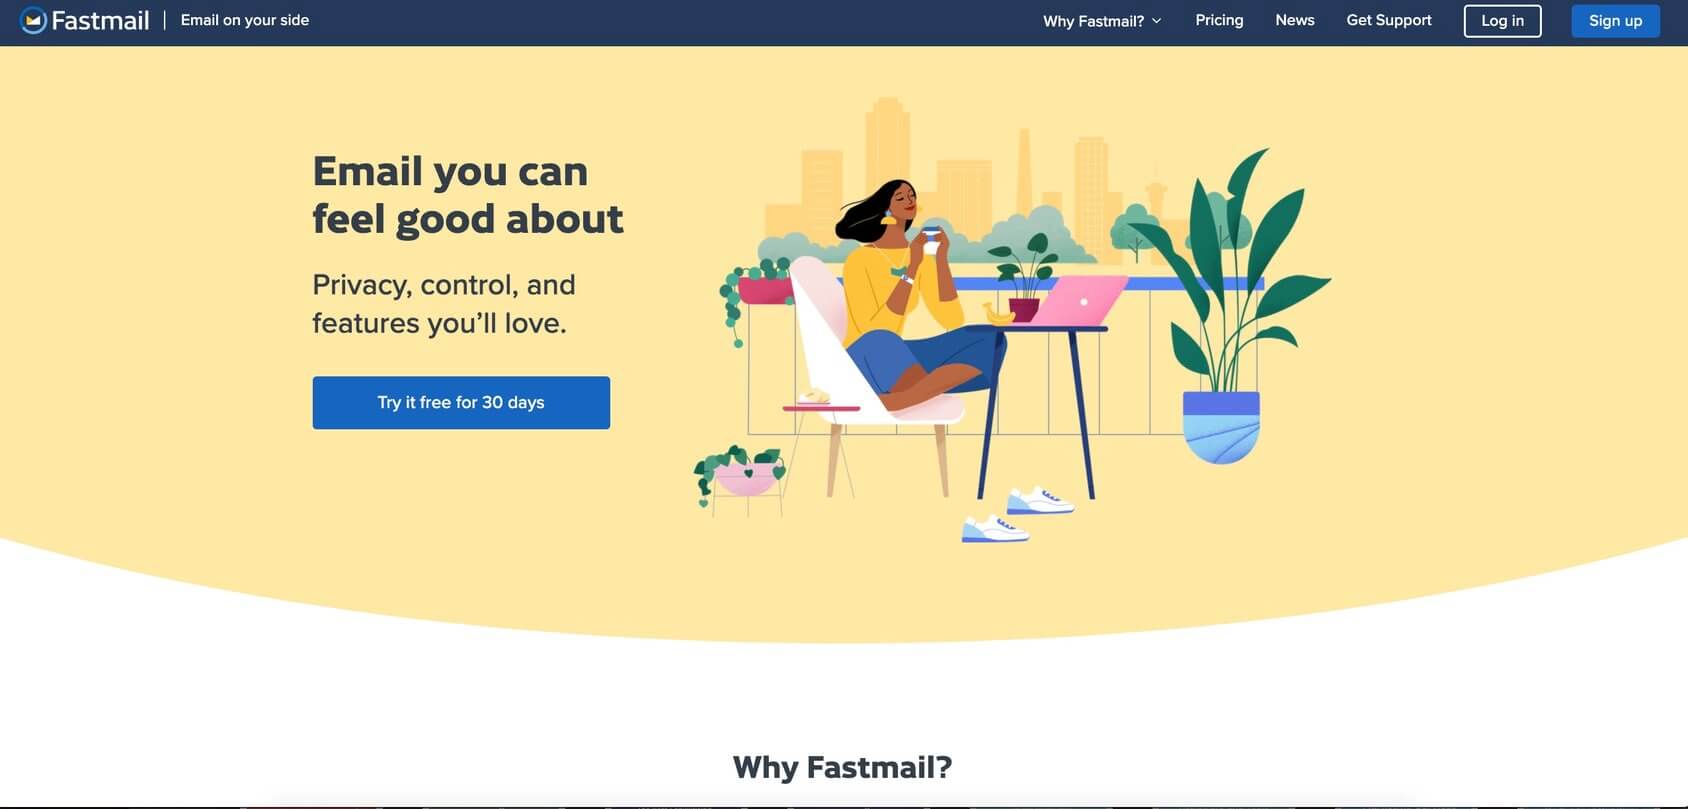
If you just want an easy and secure way of working from email without any extra unnecessary apps, FastMail might be the way to go With a new modern Web app and an affordable price, Fastmail is rapidly become a viable alternative to more common email services.
Key features
- Storage from 2GB per user up to 100GB per user.
- Ad-free email.
- Full-featured calendars.
- Contact lists and groups.
- Mail import tool.
- Three services in one (email, contacts, and calendar).
Pricing
- Free 30-day trial.
- Basic plan starts at $3 per user per month.
- Standard plan extends everything at $5 per user per month.
- Professional plan is best for teams of five or more at $9 per user per month.
Visit Fastmail for additional information
ProtonMail
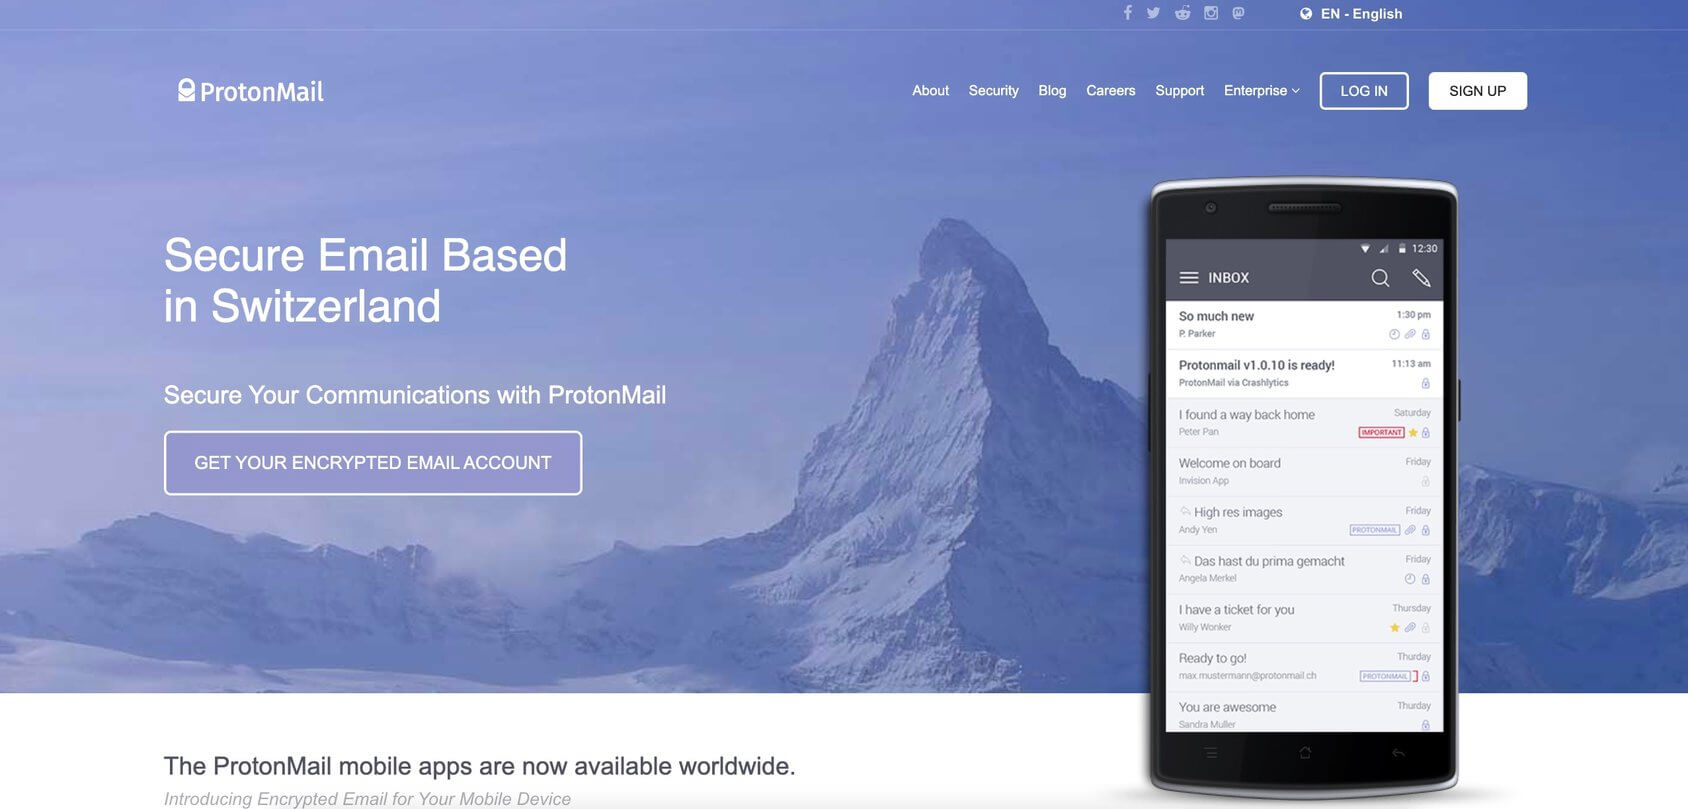
Security is often a priority over other additional features. ProtonMail offers a straightforward email service focused on security and privacy.
Key features
- Data securityand neutrality.
- End-to-End encryption.
- Anonymous email.
- Open-source.
- Modern inbox design.
Pricing
- Free for single users with limits of 500Mb storage and 150 messages per day.
- You can upgrade to a Plus plan at $5 per month.
- Professional plan allows up to 5000 users at $8 per user per month.
- Visionary plan gives specific features for up to 6 users at $30 per user per month.
Visit ProtonMail for additional information
Pobox
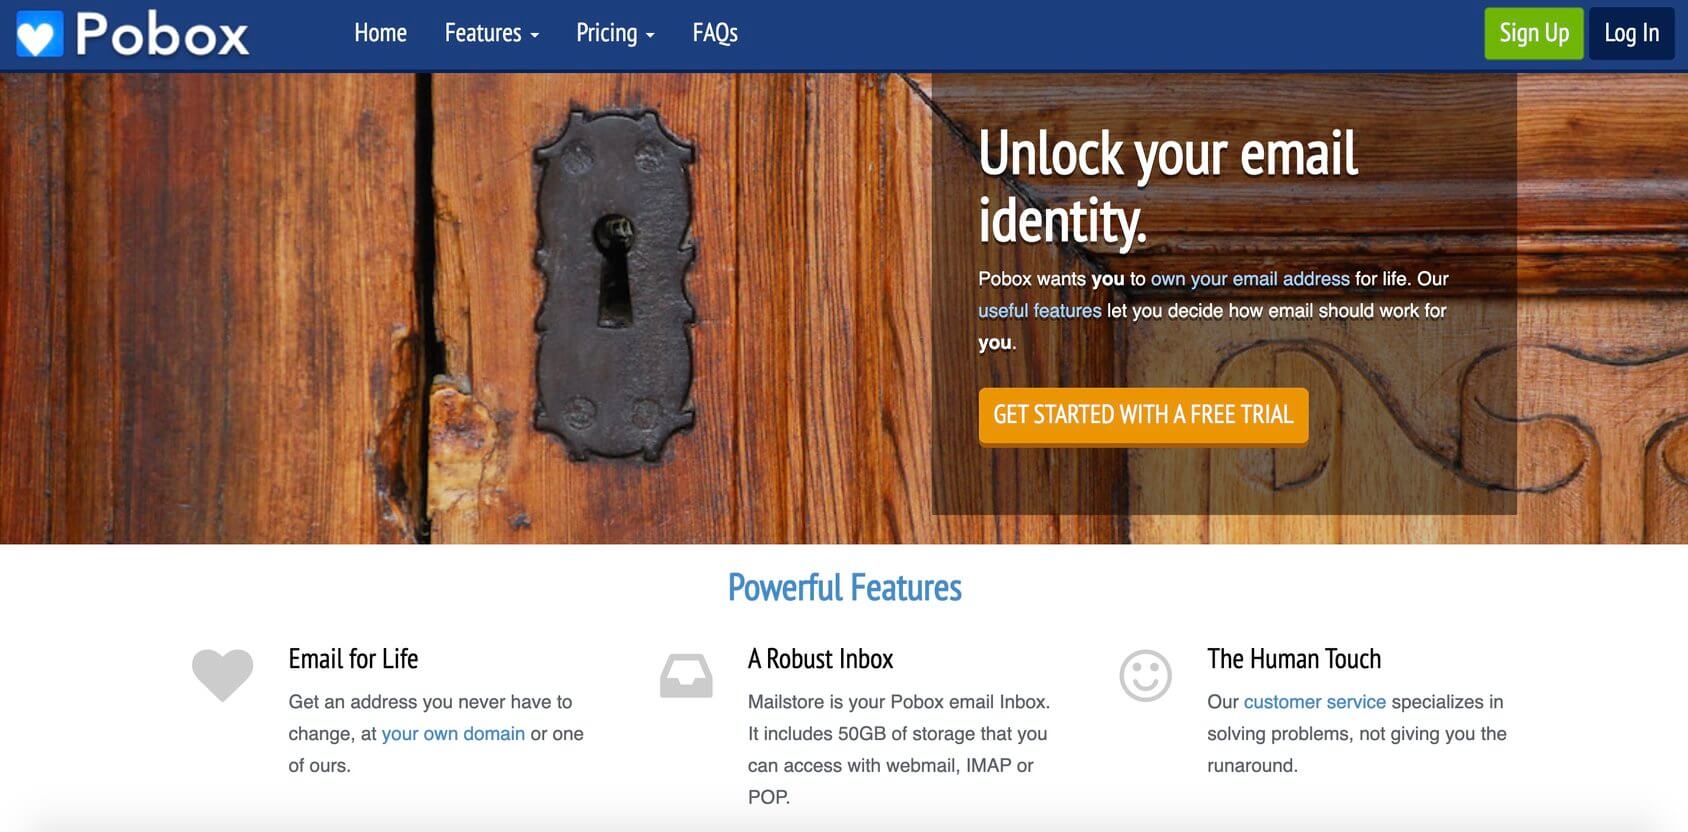
Established in 1995 by two brothers, Pobox is a popular alternative for businesses that value customer service in the email market place. Pobox allows users to create a new e-mail address for life. They offer a variety of services including an inbox that should cover all your basic business email needs However, Pobux focuses on email forwarding and doesn’t include as many features as its competition.
Key features
- Robust inbox.
- Email forwarding.
- Custom domains.
- SMTP access.
- URL redirection.
- Vacation mode.
Pricing
- Pobox Basic starts at $20/yr.
- Pobox Plus boosts productivity with filters at $35/yr.
- Mailstore plan introduces mailbox with 50Gb at $50/yr.
Visit Pobox for additional information
Rackspace Email
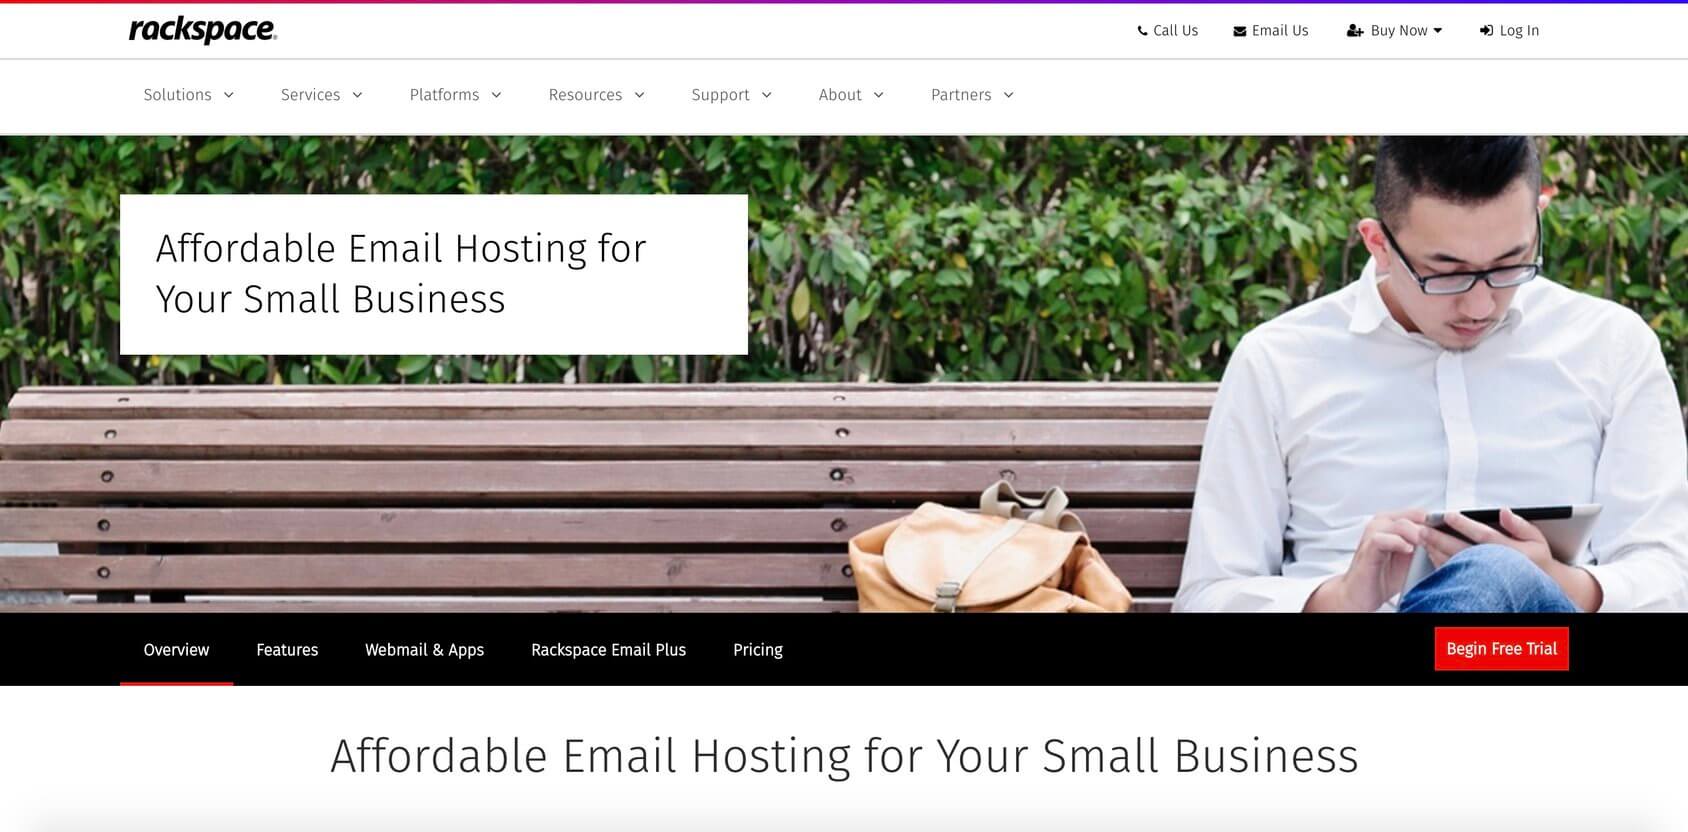
If you’re looking for high-quality, no-frills email services for your business, RackSpace is the answer. It uses secure protocols, and works with any email software installed on your PC or smartphone.
Key features
- Custom domain.
- Premium spam and virus protection.
- Unlimited aliases and group lists.
- Up to 25GB mailboxes.
- 100 uptime.
- Attachments up to 50MB.
- Easy and free email migrations.
Pricing
- Rackspace Email starts at $2.99 per mailbox per month.
- Rackspace Email Plus offers more features and services at $3.99 per month per user.
Visit Rackspace Email for additional information
Syncing your email with third-party software
With some email hosting providers, you can sync your email with third party software or apps. It’s a great option if you prefer a particular user interface, and want to consolidate multiple email accounts into one single inbox. Email forwarding is when you forward an email from one account to another. It’s easy to set up with most email hosting providers.
Email forwarding
Forwarding emails refers to the process of sending emails you receive from one account to another account of your choice. You can therefore automatically forward all your incoming emails to a particular email account without the sender ever knowing it.
You can set up a custom email address so that people can send emails directly to you. Then you can use another email address to read them. However, if you use email forwarding, then you cannot reply to the emails that were forwarded to the email address they were sent to; you can only view them.
If your chosen email host uses either POP3 (Post Office Protocoll) or IMAP (Interne Message Access Protocol), you’ll be able to easily sync your custom email address with any software you choose.
POP3 – Post office protocol
If you expect to get a lot of email, POP3 is your best option. It downloads and delivers all of the incoming emails to your device, while deleting them from the mail server’s inbox If you use a single device to check your email, POP3 is a good option because it allows you to download your messages onto any device. However, POP3 downloads are tied to a specific device, so you won’t be able to access your inbox from another device.
IMAP – Internet message access protocol
IMAP is a LOT more flexible than POP3 because it allows you to sync your emails between multiple devices. If you want to be able check your email from different computers, as well as integrate a custom email address with web mail services such as Gmail or Microsoft Outlook, you should use POP3 to set up your email account.
One downside of IMAP is the fact that it doesn’t delete any messages on the IMAP server. If you receive a lot of email messages, you can exceed your hard drive space quickly.
Connecting your email account to your mobile phone
Whether you use an iPhone or Android phone, connecting your email to it is an extremely simple process, as you will soon discover.
Setting up email on your Android phone
- Open your email client.
- Select the Add account.
- Enter your email address and password.
- Choose an account type (POP3, IMAP, or Exchange). You should choose IMAP so that you’ll receive cached copies of the emails you receive, which will be stored on the server. If you choose POP3, all the received emails will be downloaded from the server and stored on your phone.
- Configure your desired account options, such as notification settings and syncing emails.
- Select Sign in.
Note: If your email was configured as a POP3 account, you cannot select IMAP. You can change the settings for email accounts you use on your computer by logging into them at their respective webmail providers.
Setting up email on your iPhone
- Go to Settings > Mail > Add Account > Other.
- Select Add Mail Account.
- Enter your name, email address, password, and a description for your account (Personal Account).
- Click Next and, if Mail finds your account settings, click Done. If it doesn’t find your settings, you must add them manually by following the next steps.
- Choose IMAP or POP (depending on your custom email account settings).
- Enter your name, email address, and a description for your account.
- Enter the Incoming Mail Server and Outgoing Mail Server information (hostname, username, and password).
- Select Save to finish.
Frequently Asked Questions (FAQs)
How do I name my email address?
It’s relatively easy for you to create a free email address, but you shouldn’t change it often. When choosing a name for your brand new email address, be careful, and ensure it is relevant. You will want to include your personal or business name in your email signature. Try not to use any funny names or anything related to something else.
Can I get a free professional email address?
Of course you can. Many web hosting companies provide free email accounts with their web hosting plans. If you’ve already started your website with us, you just need to log into your account where you can easily set up your email address (like yourname@yourdomain.com).
How much does custom email cost?
There are many email services available for different purposes and at different prices. If you’re looking for an affordable way to set up a professional email address, I highly recommend Google Workspace. However, I also recommend Bluehost that offers both web and email hosting services for as low as $2.75 monthly.
Can I create free business email without domain?
Yes, you can make custom email address for your website or blog using yandex and other free services. You can also use the same service to send emails from your own server.
Can I use desktop and mobile email apps with my custom branded email address?
You can use any of the popular desktop and mobile mail clients like Outlook, Thunderbird, Gmail etc. with your custom email address.
Can I switch my free business email account to another provider if needed?
Yes, you are able to change your email provider at any time.
Can I create a free business email address without making a website?
Yes, you do not need to have a website in order to get a free business email address. You just need to provide an email address that is associated with your personal identity (for example, gmail).
Can I use my business email address for sending bulk emails from my website?
Yes, it’s possible. You can use your custom email address as a sender address for all the emails sent by your website.
Conclusion
If you’ve made it this far, you now know everything you need to know to create a custom business email address. You may be feeling a bit overwhelmed at this stage. If you need to read this guide again, then you will easily create a professionally looking email address. And, you can be proud of yourself for doing it all by yourself.

0 Comments